
Create, change and delete contacts
Overview
Contacts are linked to customers in POLUMANA®. This means that you cannot enter a contact that is not assigned to a customer. You can enter any number of contacts per customer. If a contact is assigned to a customer, you will see these assigned contacts within the customer tab Relationships/Contacts.
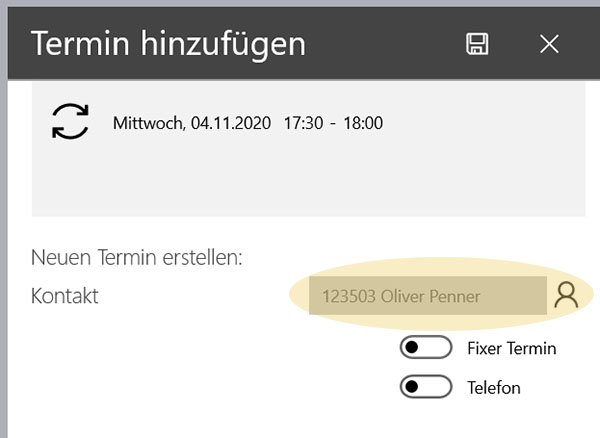
When making appointments, it is possible to add contacts assigned to the customer in the appointment booking.
Contact list
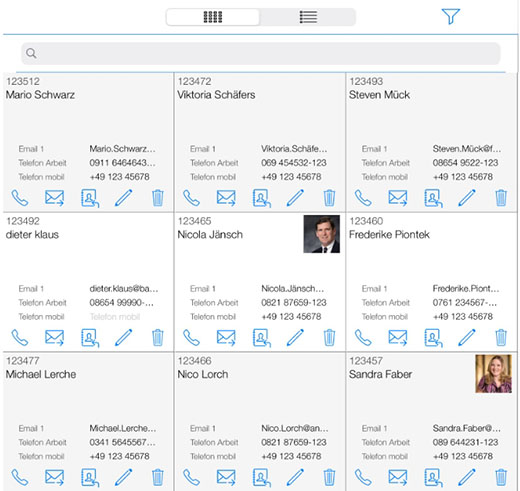
After calling up the contacts, you have two options for displaying contacts.
| WIN | iOS | Function |
 |  | Contact ad as tiles |
 | Contact ad in list form |
The default display when calling up the contacts is the tile view. You can see that the contacts can also be filtered accordingly. To do this, use the “Filter icon” on the right above the contacts.
Create, change and delete contacts
To create a contact, click on the “plus icon”. An input dialogue will then appear in which you can enter all the relevant fields. However, the entry or link to a customer is mandatory.
Within iOS, you also have the option of saving the contact in your iOS Contacts app.
| WIN | iOS | Function |
 | Create new contact | |
 | | Change contact |
 |  | Delete contact |
 | Call contact | |
| n.a. |  | Save contact to Contacts (address book of your device) |
| n.a. |  | Add picture to contact |
To change contacts, click on the “Change contact” icon. You can change all contact data except the assigned customer.
To delete contacts, click on the “Delete contact icon”. In iOS you have the option of deleting the contact only from the app or also from your iOS Contacts app.
To call a contact, click on the “Call contact icon”. Depending on which service you have set up on your device, the corresponding app will be loaded.
You can also add pictures to your contacts. Simply click on the “Add picture to contact” icon and take a picture. Make sure that POLUMANA® has access to your camera beforehand.
